Create and publish your first course
Create a draft, add lessons, check the learner view and publish a link you can share.
On This Page
Before you start
Sign in and check the account name in the account switcher. You need an Owner or Creator role to create and edit courses. A Viewer can preview account content but cannot create it.
Decide what someone should be able to do after the course. For example, a new coaching client might need to choose a goal and prepare for their first session. Have a title, a short description and a few lesson ideas ready. You can build the whole course with text if that suits the subject.
Create a course from scratch
Courses is in the account navigation. On desktop, Create Course is at the top right of the Courses page. On a phone, it is in the bottom action area.
- Open Courses and select Create Course.
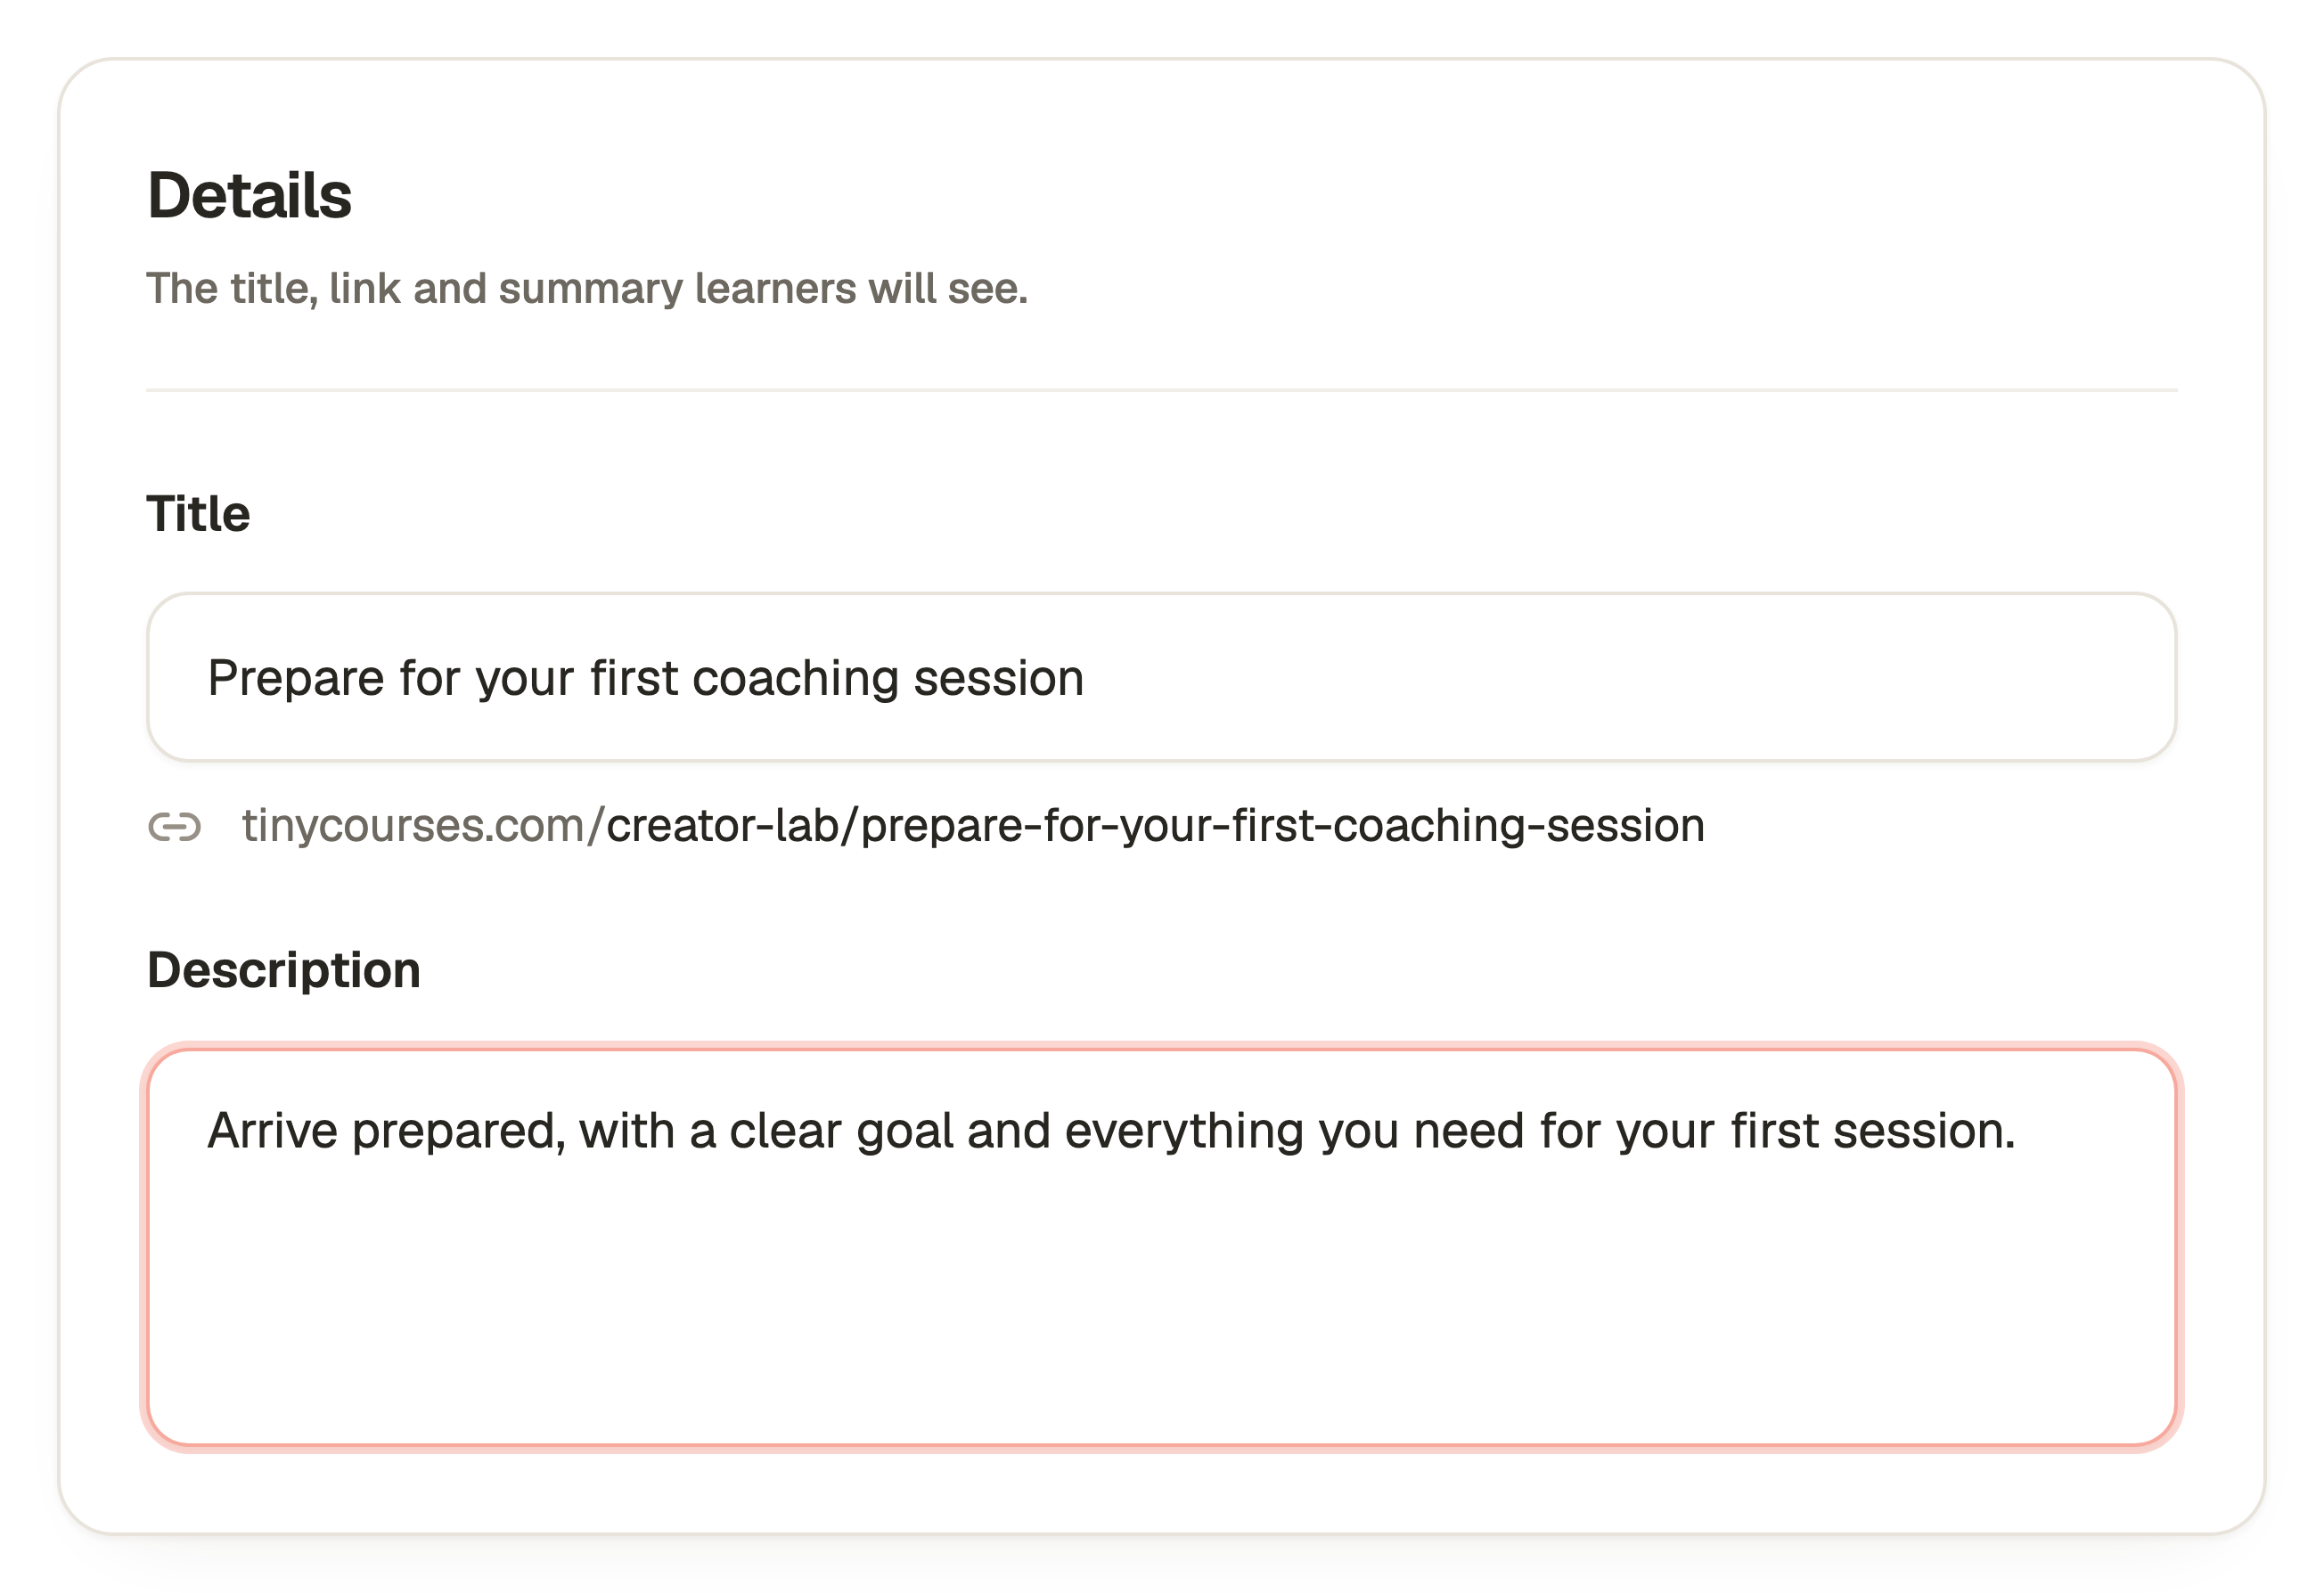
- Keep Start From Scratch selected. Under Details, enter Title and Description. The link preview beneath Title shows the proposed course link.
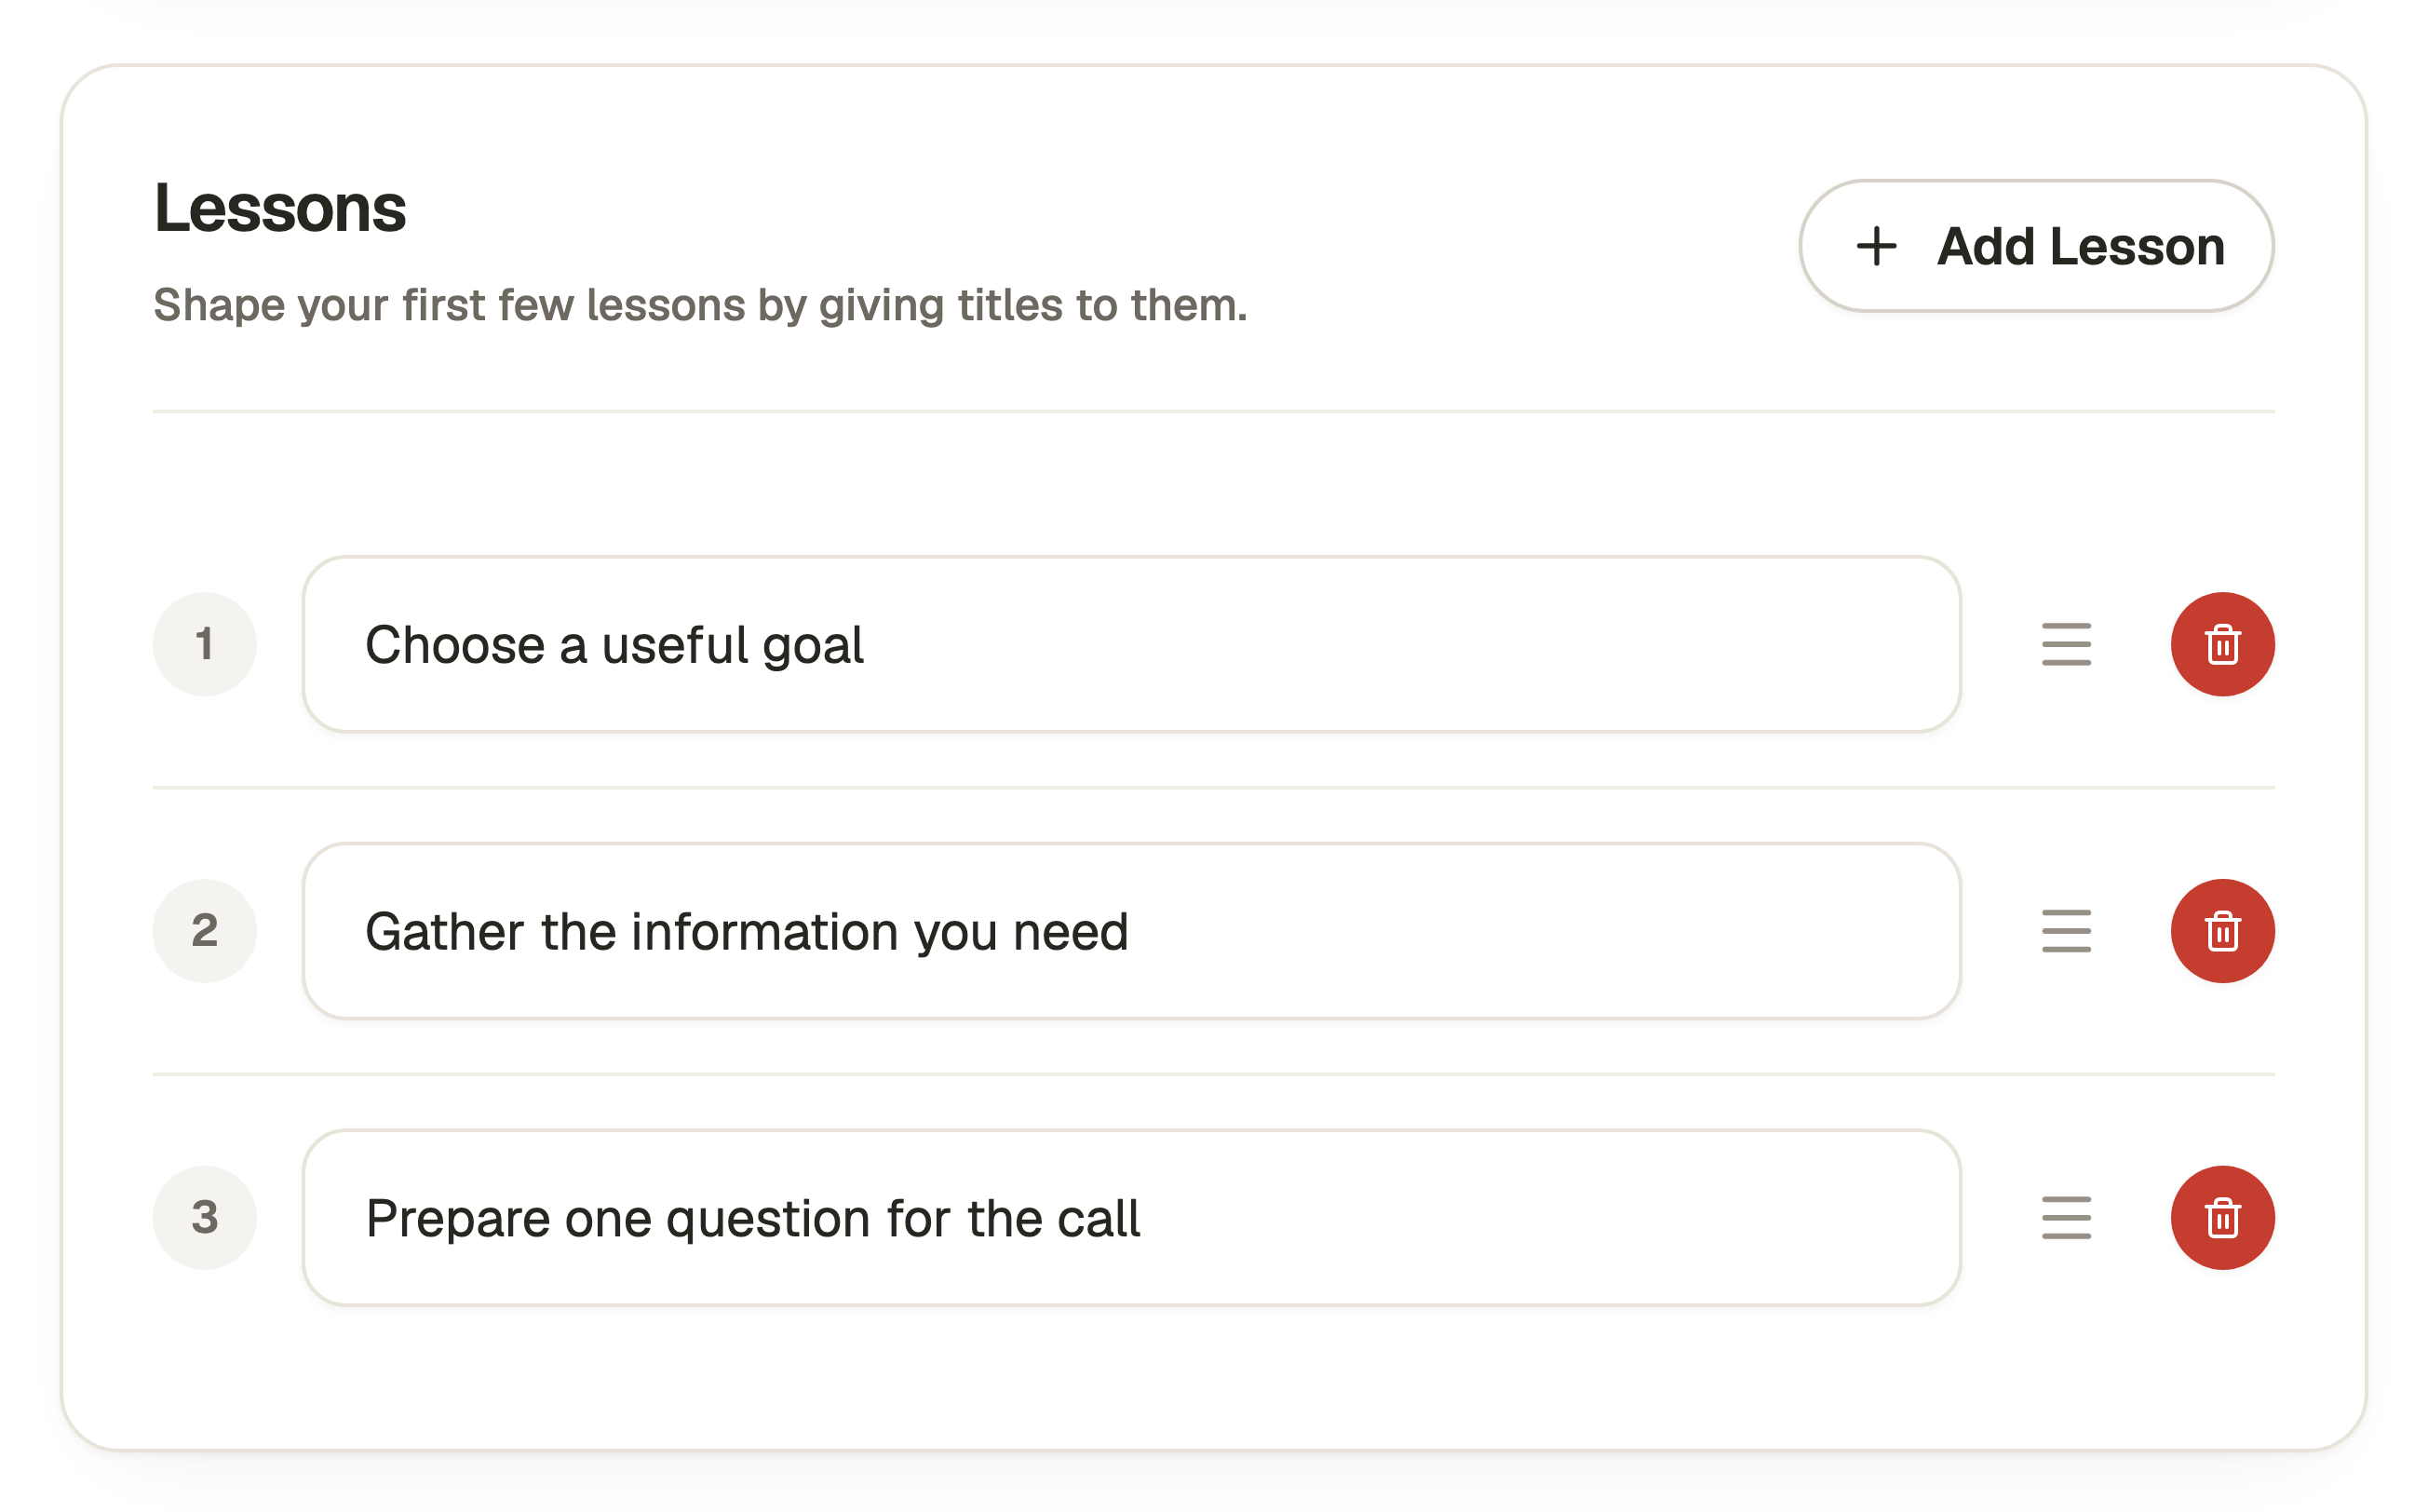
- Under Lessons, replace the lesson titles with your own. Use Add Lesson to add another row, or the bin button beside a row to remove it.
- Under Sharing, keep Use Space Sharing Settings on to use your space’s audience, or turn it off and choose the course’s own audience. Paid sharing choices show their plan requirement.
- Select Create Course in the bottom action bar. The app creates a draft and opens its editor. Creating a course does not publish it.
Return to an existing course
Open Courses and select a course card to continue editing. The card’s more menu is labelled Open actions for followed by the course title. Owners and Creators can use Edit, Settings, Preview, Publish and Delete there. A Viewer opens a read-only preview instead.
For a published course, Copy Published Link copies its learner address. Copy Private Link identifies a restricted route when offered. Copying does not change its audience, publish a draft or enrol anyone.
Delete opens Delete course? for confirmation. Deleting a course is different from removing one lesson or unpublishing it. Review the confirmation and any flow usage before proceeding. Use the publishing screen when you only want to change publication availability.
Use suggestions or start with a blank course
To get help with an outline, select Get Suggestions. Answer “What knowledge do you want to share?”, “Who is it for?” and “What will learners be able to do by the end?”, then select Show My Ideas. Use Previous Idea and Next Idea to browse, then Use This Idea. Review its details and lesson titles before Create Course. Review generated content for accuracy before sharing it.
Start Blank Instead, shortened to Start Blank on a phone, is available in Start From Scratch if you want to open a blank draft and write in the editor. It does not require the outline to be complete.
Write the introduction and lessons
The editor opens on the course introduction. Edit its title and text directly. Use Lessons in the bottom bar to open the lesson list, then choose a lesson. Add Lesson creates another lesson. Complete opens the course’s closing content.
- Write what the learner will achieve in the introduction.
- Open each lesson, edit its title and write in the content area. Select text for formatting. Use the plus control, labelled Add Block, to insert images, questions or another supported block.
- Save each block with its named save action, such as Save Questions. Ordinary course and lesson text saves automatically.
- Open Complete from Lessons and add a useful closing message or next action.
Check the saved draft
Select Preview in the editor’s top bar. The app saves pending editor text before opening the draft preview. If it reports that it could not save, keep the editor open and retry before leaving.
Read the introduction, move through the lessons and try the activities. Check on a phone as well as a larger screen. Preview lets your team review the draft. To check learner access, open the published link using a learner’s sign-in.
Publish and copy the learner link
Return to editing and select Publish Course in the top bar. This opens the publishing screen.
- Review Publishing and Sharing. If the audience needs changing, use the settings action in Sharing, save the settings and review publication again.
- Select Publish Course in the bottom action bar. If the course is already published, the action is Republish Course.
- Wait for Published successfully. Copy the link from Share this link, then select Done. A private course instead explains its restricted sharing.
- Open the copied link as an ordinary learner to check access. After later edits, preview the saved draft and republish when you want learners to receive the changes.
Questions & answers
- Why is Create Course unavailable?
- Check that you are an Owner or Creator in the correct account. Title and Description each need at least three characters, with at least one named lesson. Review any inline errors and resolve a sharing choice that needs an upgrade. If AI generation is already active, the form can also be temporarily unavailable.
- What can I publish on Free?
- Free includes up to three courses, with one publicly published course and basic 30-day analytics. Flow publication and additional paid features require an eligible plan. Check Pricing for current limits.
- Does Preview or copying a link publish the draft?
- No. Preview reads the saved draft. Copying a link only copies an address. Publication happens through Publish Course or Republish Course.