Create a client onboarding course people can use before the first call
A client onboarding course can give a new client the context and preparation they need before you meet. Start with the questions you keep answering in welcome emails, then turn them into a short sequence the client can work through at their own pace.
Updated

In this article
Separate what the client needs from what you want to announce
A new client usually needs to know what happens next, what you need from them and where to ask a question. Your company story may matter later. Lead with the information that helps them take the next action confidently.
For a fictional coaching practice, the outcome could be “Arrive at the first session with one useful goal and the information we need to discuss it.” That is more useful than a course called “Everything about our coaching process”. It also gives you a limit on what to include.
Read your last few welcome messages and list the instructions that recur. Use those as evidence of a real need. Remove private client details before adapting an example or screenshot.
Build a three-lesson first version
The introduction should explain who the course is for, what the client will prepare and what happens after they finish. Keep promises you can actually deliver. Do not describe a personalised review if nobody will read the response.
Try three short lessons. First, choose a session goal and show an example. Second, collect the relevant information, with a checklist or supporting download. Third, explain the call format and ask the client to note one question they want answered.
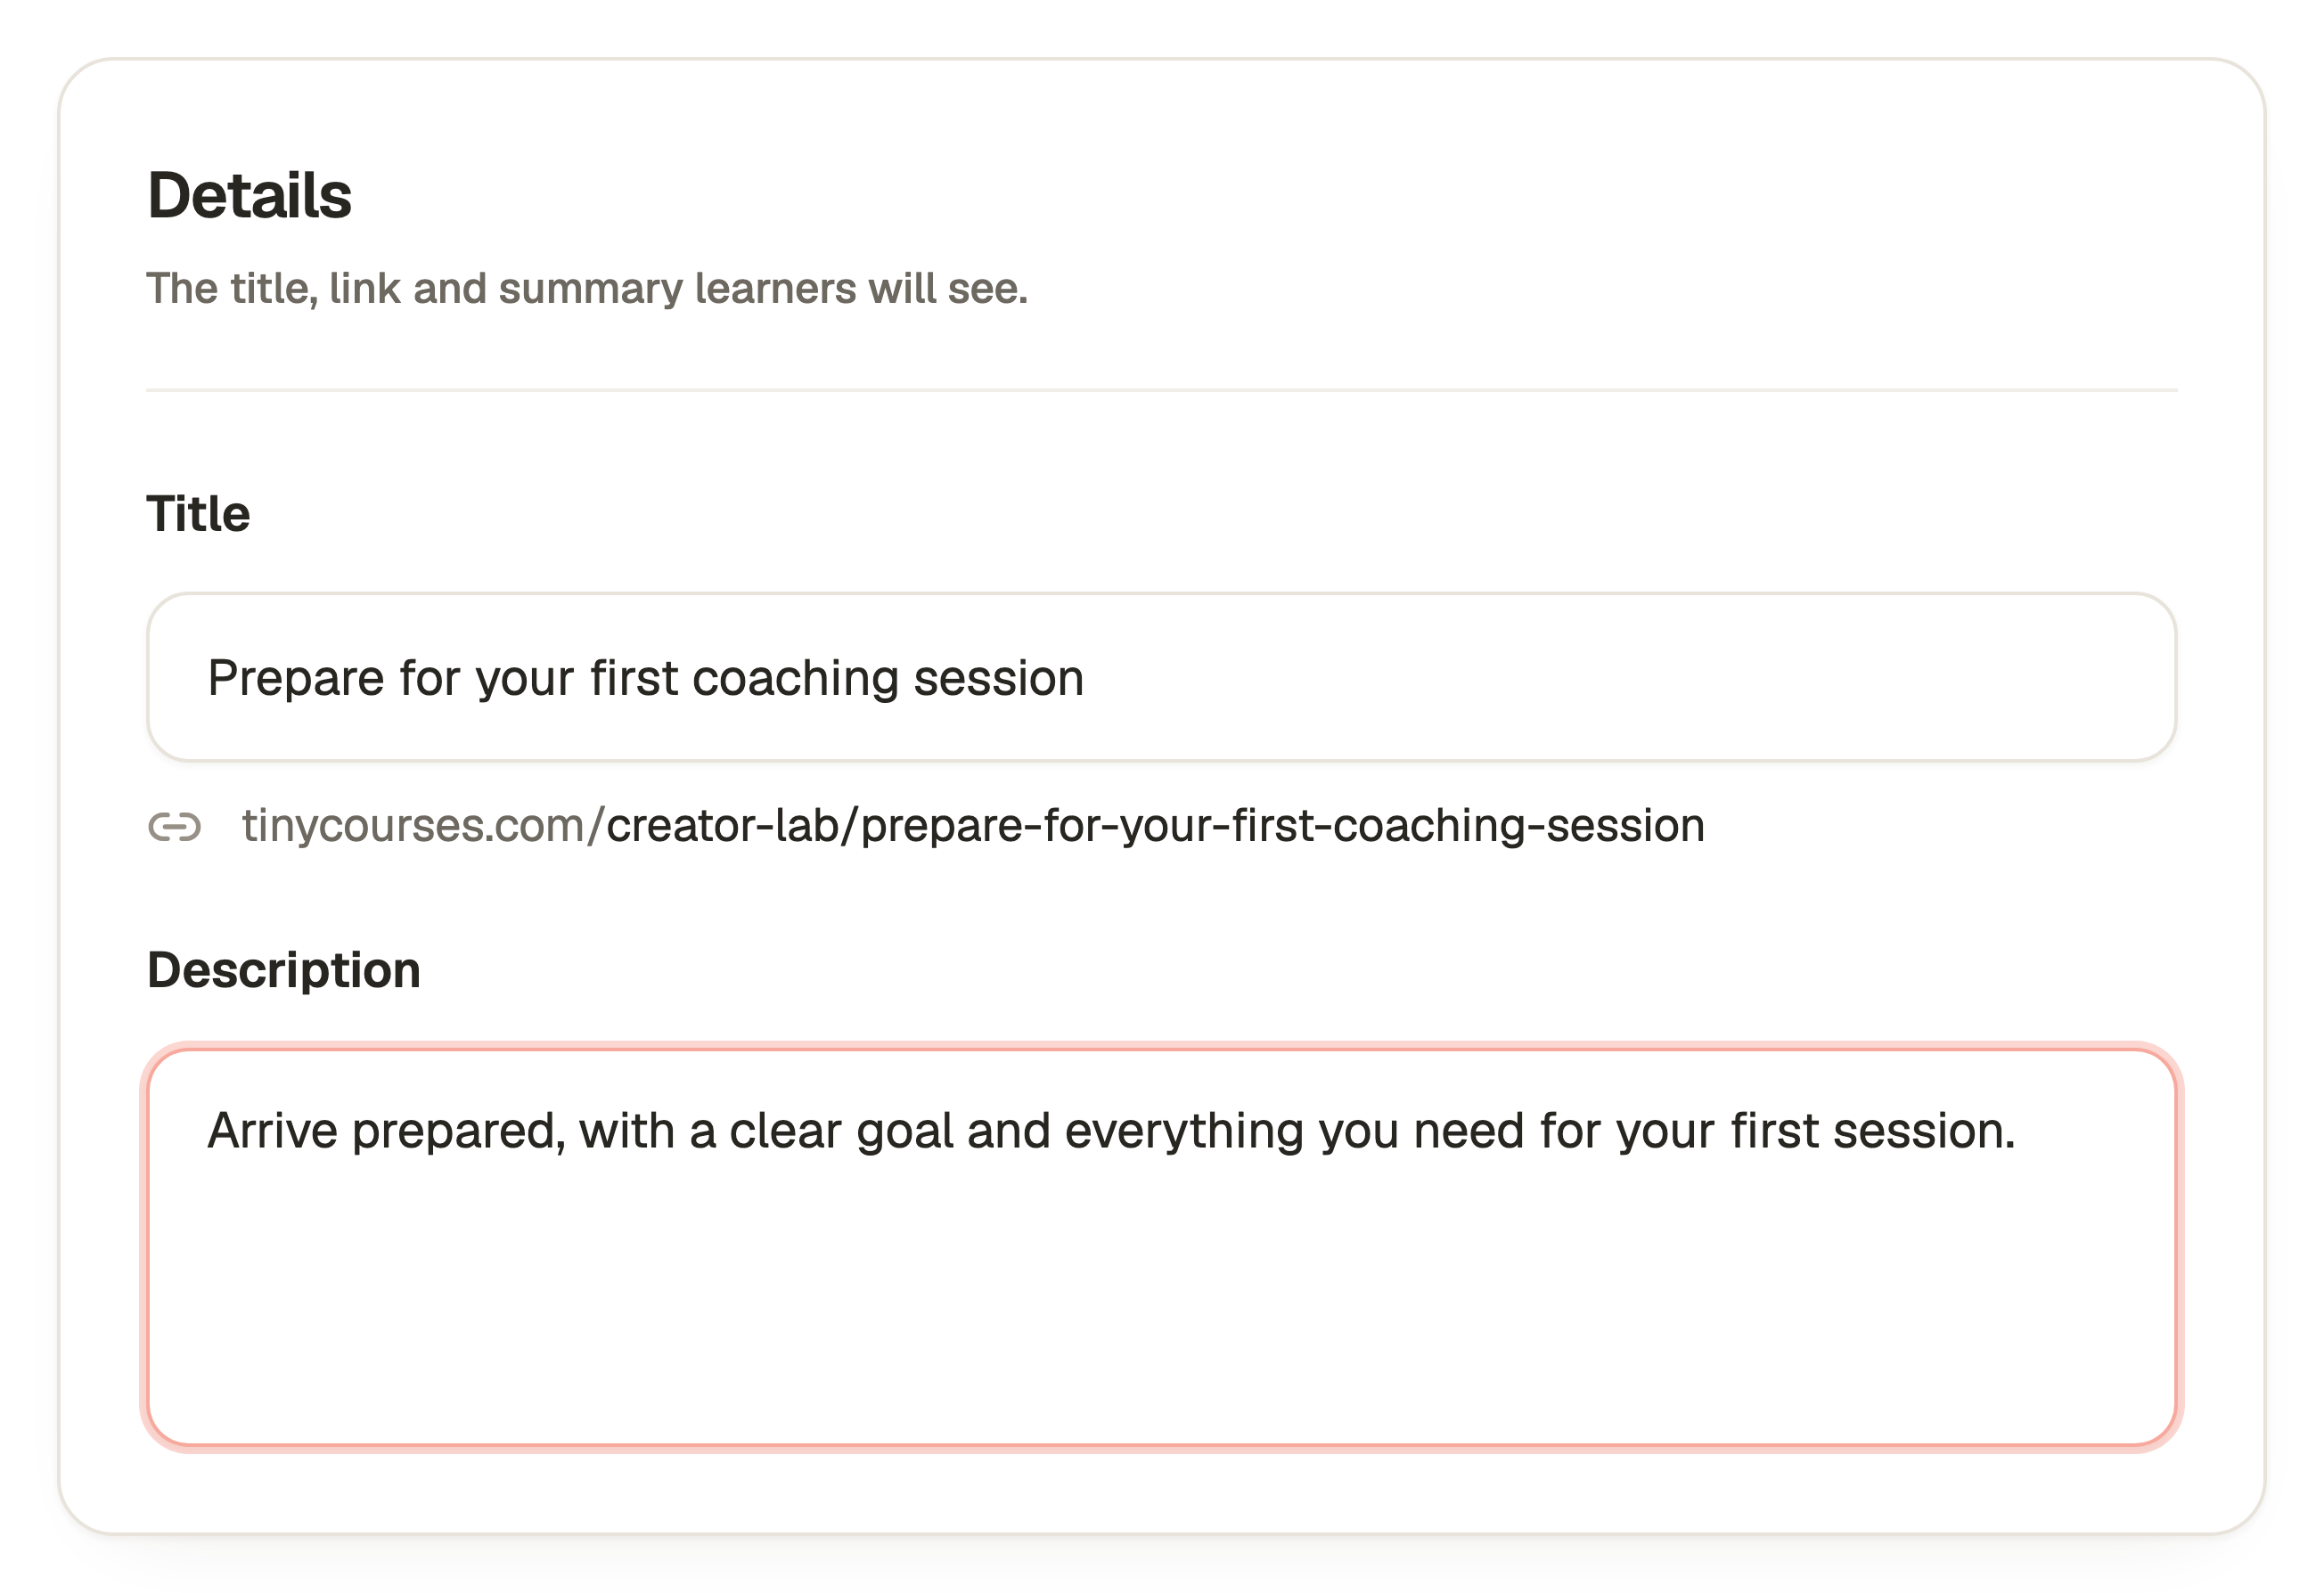
In Tiny Courses, open Create Course, enter the title and description, and name those lessons under Lessons. Get Suggestions is available if you want a starting outline. Review any generated wording against the service you actually provide.
Use one real example and one preparation task
An instruction such as “think about your goals” is easy to skip. Show a vague goal, explain why it is hard to act on, and offer a clearer version. For example, “be more confident” could become “prepare a clear opening for my next project review”.
Follow the example with a Free Form question asking the client to write their version. If the task is simply preparation for the call, say that. The learner should know whether someone will review the answer and where to send an urgent question.
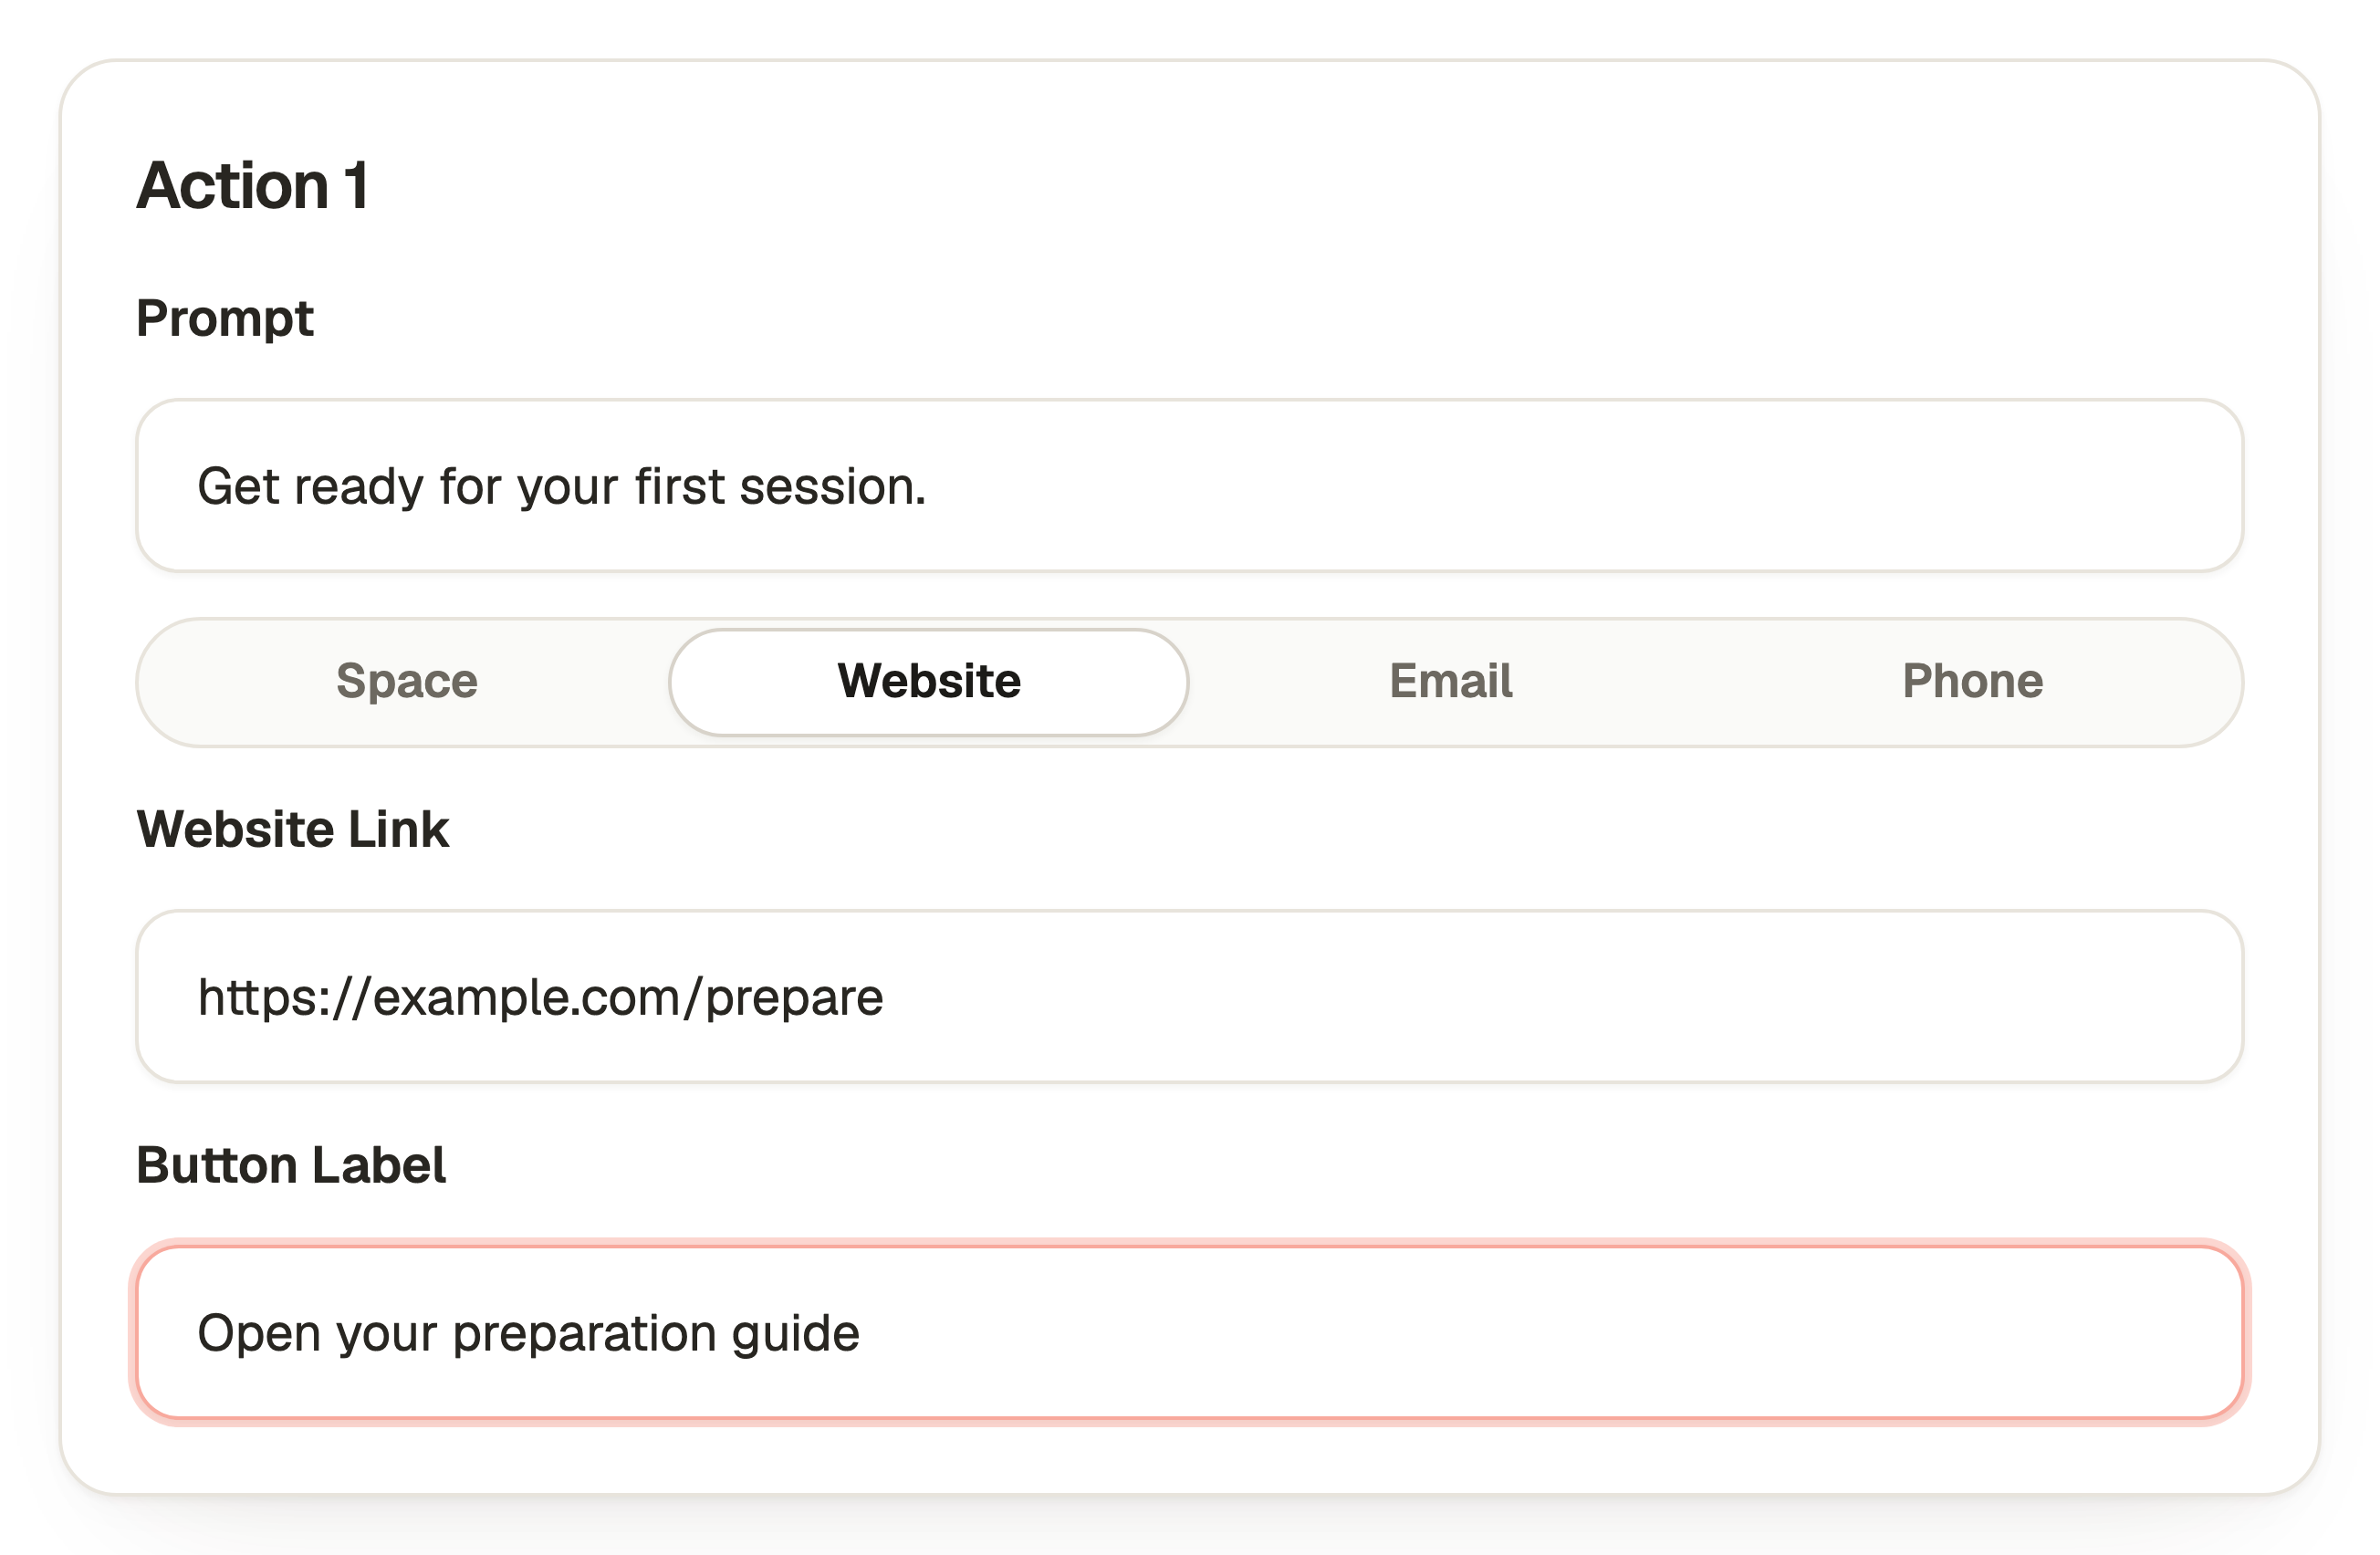
Use an Actions block to give the client a clear next move: open your preparation page, email a question or visit the booking page you already use. Write a button label that names the destination, then test it from Preview.
Choose the audience before sharing the link
Decide whether the welcome material is public or intended only for selected clients. Public material can answer common pre-sale questions. Client-specific information needs an appropriate restricted audience and careful handling of the content itself.
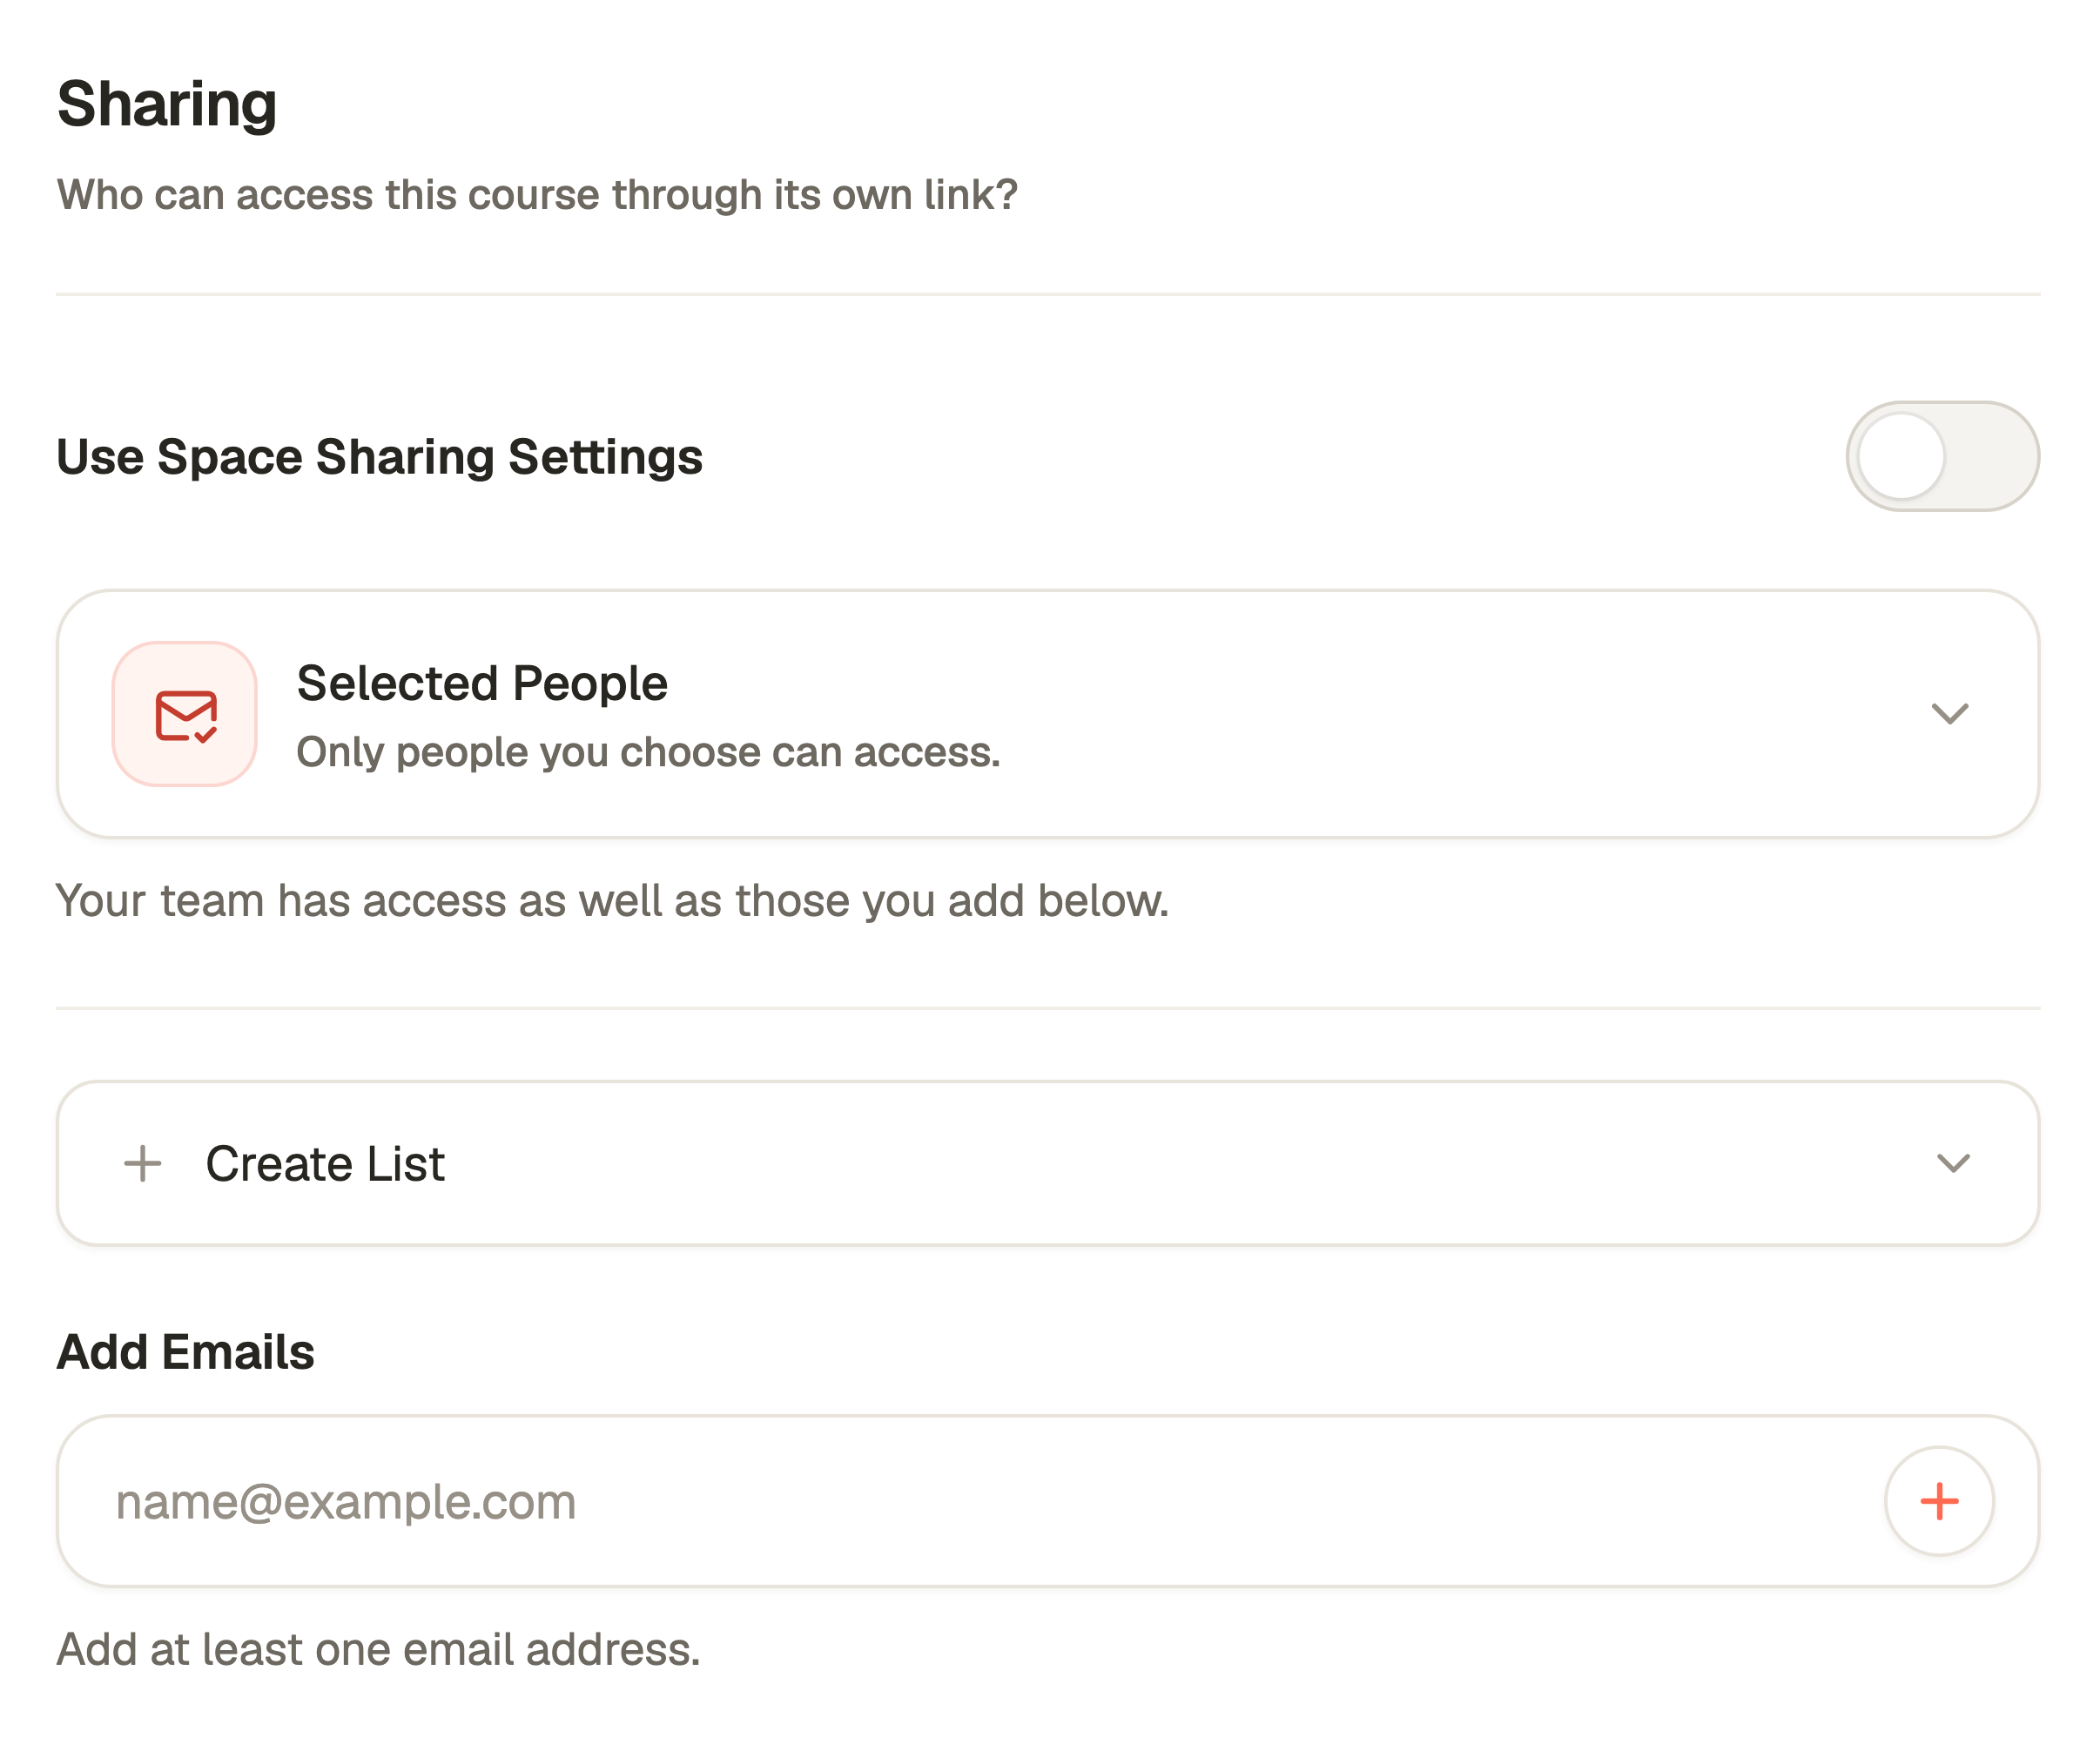
On an eligible paid plan, Selected People can use individual permitted emails or a reusable list. Save those sharing settings, publish the reviewed course and send its learner link through your normal client communication. A list entry grants permission where assigned. It does not prove the person has joined or completed the course.
Do not use a team invitation for a client who only needs to learn. Team membership gives access to the account’s work. Set Up Client is different again: it invites someone to their own account and subscription.
Test the welcome experience as a new client
Preview the saved draft, check every question and open every download or next-action link. Read the course on a phone. Then test the published link under the intended learner access, because the creator’s account preview can show more than an ordinary client is allowed to see.
In the welcome email, give one clear reason to take the course and say what the client should bring to the call afterwards. Do not make it compete with five unrelated links. Make the support or contact route easy to find for someone who gets stuck.
After the first few clients use it, ask which instruction was unclear and review the relevant progress and question responses. Improve one part at a time, preview the revision and republish when it is ready.
Check the difference between Preview and published accessPut someone in charge of keeping it current
Assign someone to check the course whenever the welcome email, service, booking link or preparation checklist changes. A screenshot that names an old button can be more confusing than no screenshot at all.
Keep the source checklist and the lesson together in your review process. If you replace a downloadable file, check the saved draft and the published version separately. The new version is ready for clients after you explicitly republish the course.
Keep the personal welcome too. The course gives clients somewhere to check a detail later, without having to search their email or ask you again.
Manage stored files and published media referencesKeep reading

How to create an online course without filming videos
A practical way to turn notes, screenshots and a few thoughtful questions into a course, with a three-lesson example to get you started.

Build courses together with Team members
Invite people into a shared account, give them the access they need and keep course work out of a shared login.