Add an audio recording
Upload an MP3, M4A or WAV file, select it for an Audio block and test playback.
On This Page
Choose an existing recording or upload one
Use Audio in a course introduction, lesson or Complete content. Open the course, choose the area through Lessons and place the cursor where the recording belongs. Owners and Creators can edit.
The block uses one recording at a time. Selecting another recording replaces the pending selection. An upload may remain in the library even if you later cancel placing it.
- Select Add Block and choose Audio.
- In Add Audio, select a recording from the library canvas. The selected filename appears under Selected in Toolbar.
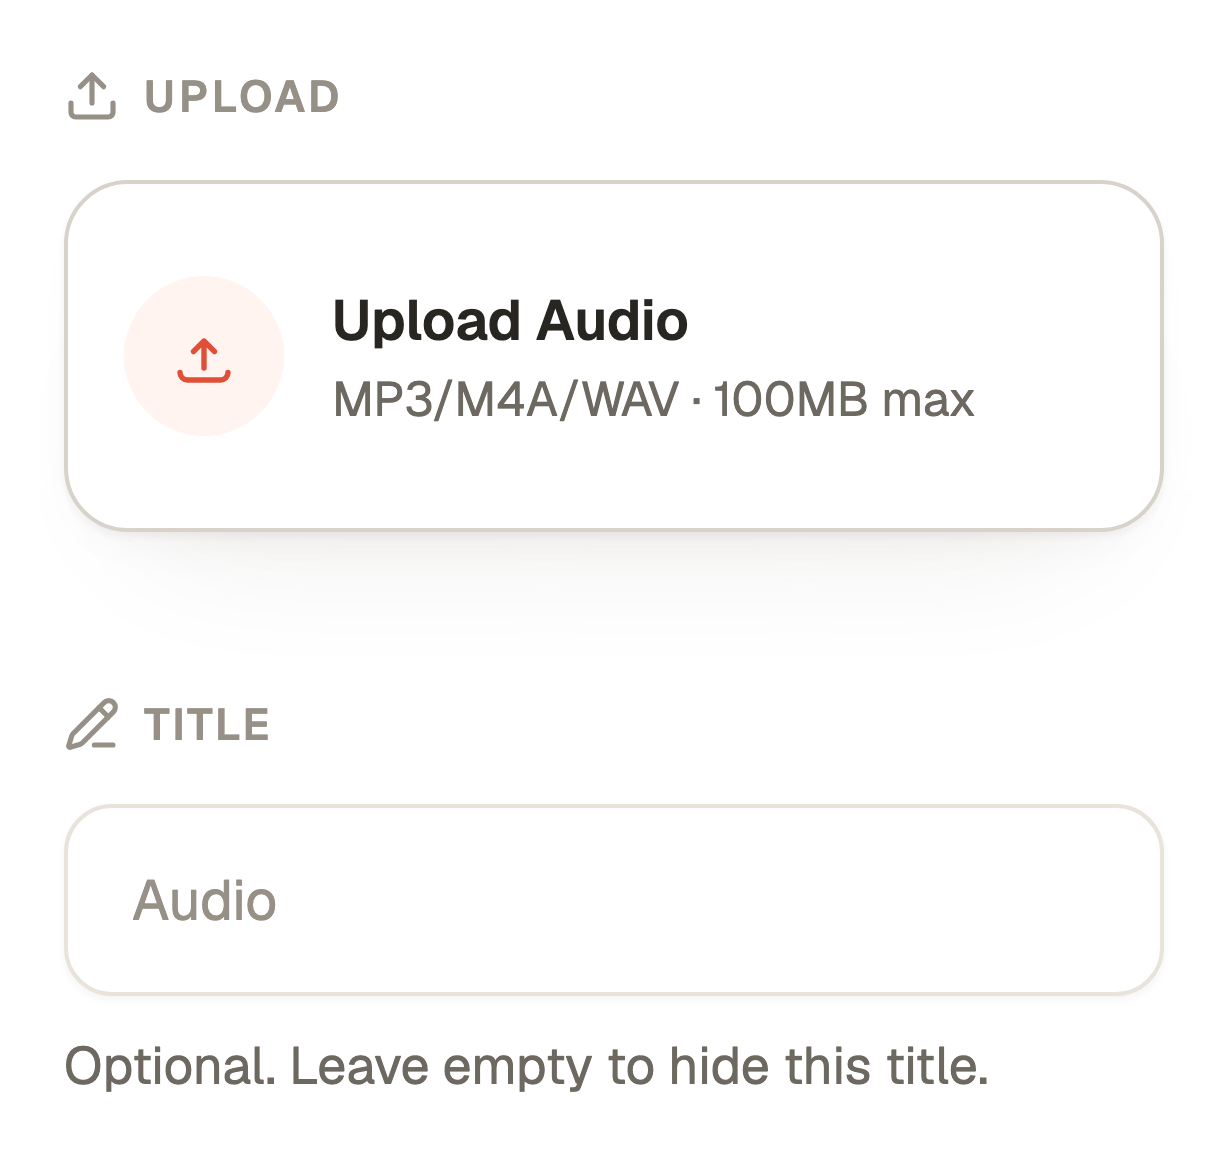
- To add your own recording, use Upload Audio under Upload in Toolbar. On a narrow screen, open Toolbar with Open toolbar.
- Choose one MP3, M4A or WAV file, up to the displayed 100MB limit. Wait for the upload to finish and check the selected filename.
- Use Title in Toolbar if the block needs a custom heading. It is optional.
Explain what the learner should listen for
Use the surrounding lesson text to introduce the recording, its purpose and what to do afterwards. For example, ask the learner to notice how someone handles an objection.
Include a written summary or transcript in the content where learners need an alternative to listening. An uploaded recording does not automatically supply the explanation. Only use material you have permission to share.
Save and test playback
- Select Save Audio in the bottom action bar. The block returns to the draft. If you want to abandon the pending selection, use Cancel.
- Select Preview in the course editor and play the recording. Check that it is the right file and that its volume and spoken instructions are usable.
- Test on a phone as well as a larger screen, including the surrounding written explanation.
- Use Edit on the saved audio block to replace it if needed, then Save Audio. Republish the course to release the new recording.
Questions & answers
- Why is Save Audio disabled?
- Select an existing recording or finish uploading one. Check the Selected filename in Toolbar. A failed upload does not create a usable selection.
- Why was my upload rejected?
- The Audio editor accepts MP3, M4A and WAV and shows a 100MB maximum. Check the file type, size, available storage and the exact error displayed before retrying.
- Does replacing the draft recording change the live course?
- The saved draft and Preview change first. The published authored version changes after you republish the course.